7 macOS Tips to Help You Be More Productive
Get more done with these must-know techniques and tips to use with your Mac. I've used MacOS as an experienced software engineer for the past 12 years. After 12 years of intense Mac use, I've got some tricks in my bag that I'd like to share! These are for free, just like beer, and are simple to install and use. Let's together discover 7 macOS Tips to Help You Be More Productive
Related posts
Awesome Android Apps that will change the way You Utilize Your Smartphone
10 Top FPS games available for Mac 2023
1. Search with +space using Spotlight
A lot of your time spent on your Mac is spent searching for things. When you launch apps, you must first locate the icon, either within the Dock or within the list of apps. The search for the email your boss sent you this week could take some time. Are you looking for the document you'd like to keep working on? Perhaps you have a dentist's appointment on your calendar?
This is my most-recommended advice and with good reason. If you can only recall something from this post, it should be this tip.
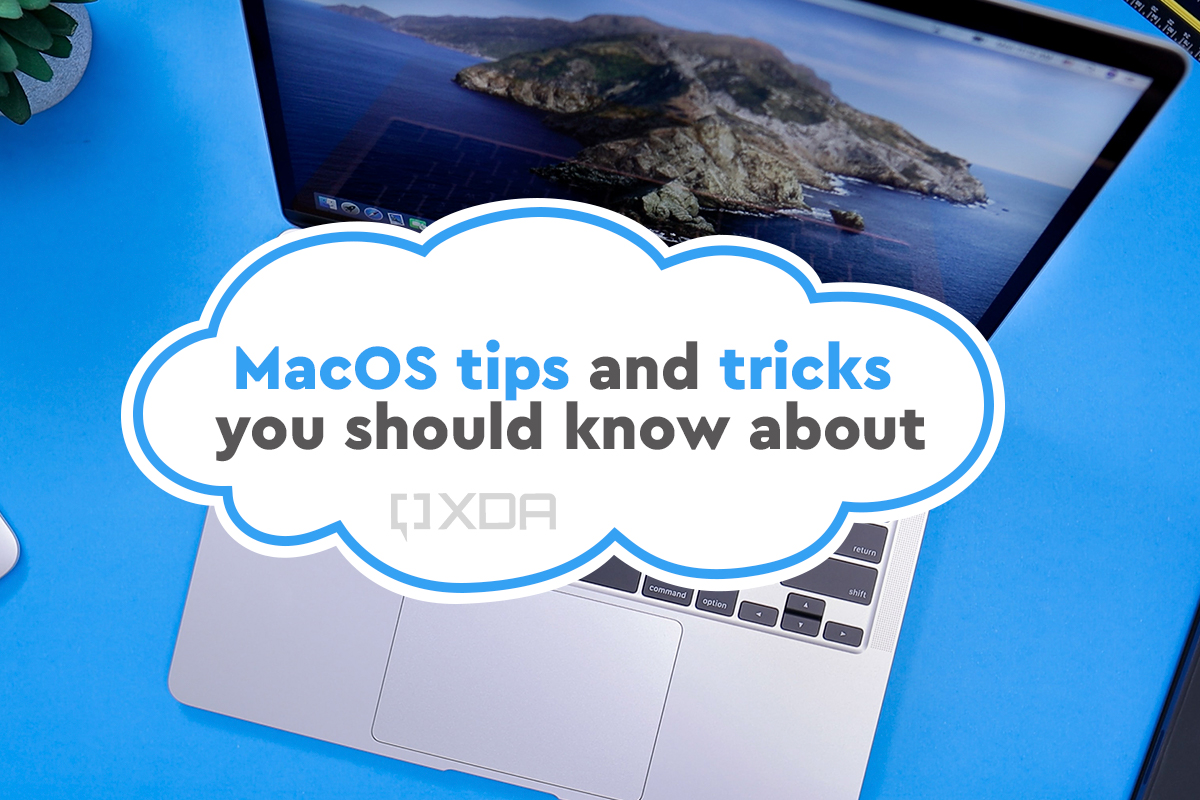
7 macOS Tips to Help You Be More Productive. Source: Proreviewsapp.com
The entire search process can be speeded up through the use of Spotlight. How do you start using Spotlight? Press the +spacebar and begin typing.
Maybe this isn't a surprise to you. However, do you know all the fantastic things you can accomplish using Spotlight?
Start applications This is the one I am using the most.
Find emails within your mail archive.
You can find reminders and activities on your calendar.
Find all kinds of documents
Find definitions
Access bookmarks and pages from the history of your browser.
Convert measurements and currencies, e.g.: $34 in GBP
Do calculations, e.g. : (4 * 3) / 5.4
You can ask for the weather, e.g., the weather in Cupertino, CA
This is a non-exclusive list. To explore all choices and even disable some you want, visit Settings and Spotlight.
2. Disable the Dock
The Dock has become a favorite thing. You can instantly identify a Mac screen due to it. However, the Dock, particularly with its default settings, is considerable space. Let me tell you one of my most-loved professional secrets here:
I've used Macs for over 12 years, and I've been using them for 12 years, and the Dock was always set to auto-hide mode. I've never missed it for a single moment in my entire life.
How To Hide Dock On MacBook [Tutorial], Source: Youtube, MDTechVideos
There are three reasons you don't have to need docks. Dock to be present, right in front of your face throughout the day long:
To launch apps, you're better to use Spotlight (see Tip #1)
The Dock takes up a significant amount of screen space simply sitting there doing nothing
You can configure the Dock to display upon moving your mouse toward it. In the rare instances that I require the Dock, I move my cursor to the left side of my screen, and voila shows up.
This is how my Dock settings appear to be:
Take note of the option to "Automatically conceal and display Dock"
If you own a Macbook Pro with a touch bar, it's an excellent option to keep the Dock visible without taking up too much space in your display. The free and open-source application ''Pock'' lets you display the Dock icons in the Touch Bar. It comes with some exciting and surprising features, such as exploring your file system and opening files without moving away from the touch bar with its Finder icon.
3. Use multiple desktops
Did you know that your Mac has several desktops? If you press Ctrl + Up, Mission Control opens, providing you with an overview of your apps currently installed. Then, high on the page, you'll be able to add additional desktops by pressing the big + button. Here's a picture of one of my desks.
I typically have a desktop for each of my tasks when multitasking. Number one is for writing an article while I prefer number three for entertainment and fun, such as Spotify or surfing YouTube. The second is my 'Screenshot screen, which has a white and crisp background.
It is easy to change between Desktops by using Ctrl + Right Arrow and the left arrow by pressing CTRL.
4. Make use of hot corners
On the Mission Control settings page, you can turn on hot corners. A specific event can be activated when you point your mouse toward a desirable area. You can choose the actions that you want. I have two options, as shown in the image below:
5. Use dictation
The ability to dictate is often not used. You can speak to your Mac and tell it precisely what you want it to do. You can relax and give your hands and arms the time they deserve. This is not the best choice for the demands of a busy office. However, it is perfect for a relaxing night at home.
Learn How To Use Dictation On Your Mac, Source: Youtube, macmostvideo
When you go to the Apple menu, select System Preferences, and then click Accessibility, the new voice control feature. Here you can enable voice control. Also, you can see what commands it recognizes, and you can even create commands on your own. You can restrict the use of your orders within a particular app and choose from various authorities to perform, such as 'take a photo and 'take a selfie, to name one.
A few of my favorite commands involve lying back and reading leisurely. E.g., "scroll down, "scroll up," "go to the beginning' "go to the end," etc. Try "show commands" to see the list of commands available.
It is also possible to navigate the app using the voice commands placed on the labels on clickable items or by superimposing a grid onto the app, which lets you move, zoom and choose by speaking.
For more details, refer to the Apple whitepaper.
6. Stack icons on your desktop
What does your desk look like? Are you neatly well-organized? Or is it a massive mess, like mine? Don't feel ashamed; you're aren't the only one. Apple created a feature that allows those of us who want to tidy up our desktop on autopilot, dubbed"Stacks. It organizes your desktop making it easy to keep it clean and locate precisely what you're searching for.
Right-click your desktop and select Utilize Stacks on the shortcut menu. Likely, files are put together, and folders are placed beneath them.
7. Use shortcuts
We've gone over how to use the space shortcut in our previous article. There is a myriad of keyboard shortcuts that make your work easier. Here's a brief list of my most frequently used commands:
How to use Shortcuts on Mac | Apple Support, Source: Youtube, Apple Support
+ - to switch between programs. Press the -key and press the tab repeatedly to select a program.
+ W: Close current tab
+ q: Immediately quit the current program.
+ > from the same program.
+ c: Copy text, images, etc.
+ x + x (and copy) images, text, and so on.
+ P: Paste what you've just cut or copied
Go to the Apple page for an entire list. You can also change your shortcuts by yourself on the settings for your keyboard:
You might also enjoy this article on MacOS Catalina:
Conclusion
macOS offers the App Store; however, does it provide all the programs you require? No. When you are a skilled user such as a programmer or scientist, you'll notice that MacOS does not have a great package manager. You'll need something similar to apt-get or yum. You can install almost anything.
Related posts
5 free game development software tools
Hope this article is helpful to you, thanks for reading.
Source: Buy app reviews





Leave a Reply
Your e-mail address will not be published. Required fields are marked *